
Properly setting up the suspension sag and rebound on your mountain bike can have a transformative effect on your ride quality and confidence. When we’re talking about sag, we’re referring to the amount of suspension travel is used when you sit static on your bike in a normal riding position. The suspension naturally “gives” a little, and when you have the sag set properly, you will improve traction, small bump response, and overall ride comfort.
When you have the sag set too low, the bike won’t be able to track the trail as well since the shock will not extend into the compressions and when sag is set too high, the shock won’t be able to respond to fast coming, repeated impacts. Finding the right balance between small hit sensitivity and big hit support is the goal. And the answer is different for every rider since it has to do not only with your individual system weight (which includes all the kit you wear when you ride) but also your riding style and types of trails to ride.
Tools you need to set your sag
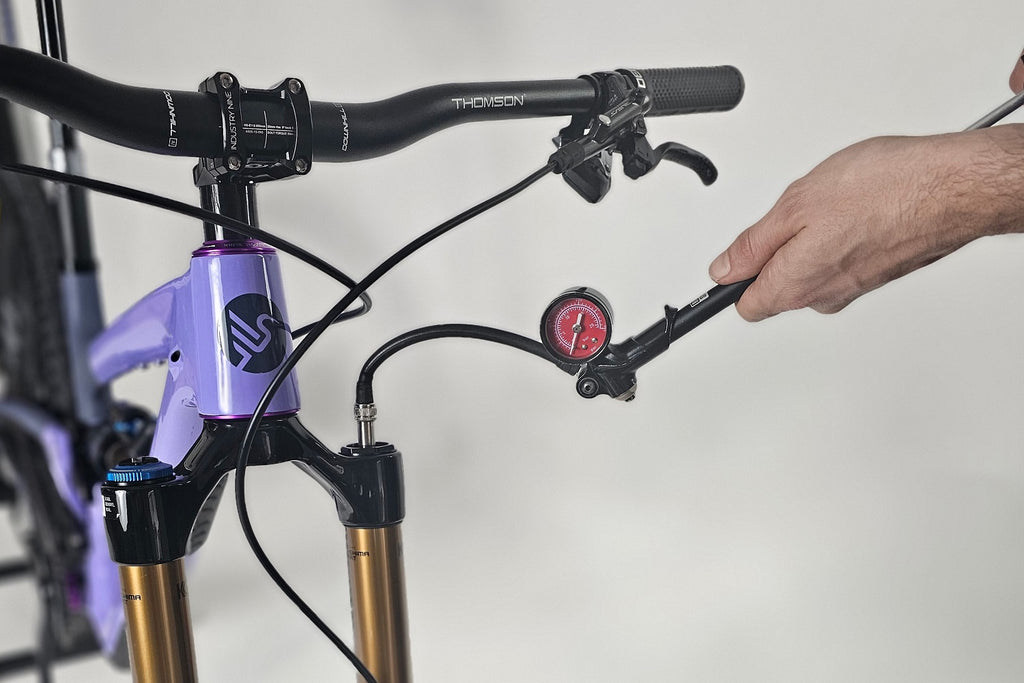
First and foremost, you’ll want to invest in a quality shock pump. It’ll be the best way to measure your current sag, as well as the best method not only to add air as required, but release it, too.

You’ll also want to have a tape measure or ruler and a calculator (or pencil and paper). It’s also a good idea to have a friend to help, if possible. Make sure, too, that when you sit on the bike to get a baseline measurement for sag, you are wearing everything you would normally wear, including backpack fully loaded, helmet, armor, and filled water bottles or CamelBak.
Something else you will want to check to make sure you have is a rubber O-ring on the shock stanchion (for both the rear shock and the suspension fork). If you don’t you can always improvise by putting a zip-tie on the stanchion for measurement purposes. But be sure to remove it before you actually ride since it could damage the shock and scratch the stanchion.
How to set your rear shock sag
Once you’ve dressed in all your usual riding kit, you will want to measure the current sag. Make sure you have your lock-out system set to unlock so that the shock suspension is completely open.
Slide the O-ring to the top of the stanchion until it is touching the shock body. Then sit down on the bike in all your kit. Put your weight on it but avoid bouncing. Get off as gently as you can. Pull only one break to ensure you are not messing up the measurement.
When you get off, you can look at how far the O-ring was pushed down the stanchion. Sag generally should be set between 20 and 30% with most riders preferring to edge closer to 30% to ensure adequate small bump sensitivity. The ideal sag percentage varies depending on the type of riding you do and personal preference. As a general guideline, 25-30% sag is often recommended for trail and all-mountain riding, while downhill riders may prefer less sag, around 20-25%.
If the O-ring has been pushed well past the halfway point, you can tell at a glance that you have too much sag. However, if it looks to be sitting still in the first quarter of the stanchion, then you’ll need to do some figuring, whether it is too much or too little sag.
Take your ruler or tape measure to see exactly what distance the O-ring has moved, and then compare that to whatever the manufacturer says the travel of your specific shock should be. Calculate your sag percentage by multiplying the travel by the desired sag percentage. For example, for a 30% sag with 290mm of travel: 0.30 x 290mm = 87mm.
How to adjust the sag
If you have too much sag, you will want to increase the air pressure in your shock using your shock pump. Remove the valve cap and pump in some more air, adding between 5 to 10 psi before retesting the sag.
How to set your fork sag
It’s important that you take the same care with your fork sag as your rear shock sag. Only when these two measurements are in balance will you be able to get the best ride and performance out of your mountain bike.
Again, make sure that any lockout system you may have on the fork is fully open. Place the O-ring on the stanchion down at the rubber wiper seal to measure how far the suspension travels with you stationary and applying the normal pressure you would fully kitted-out. It works best if you can have your buddy hold you up while you get on the bike and assume the normal standing position with your arms extended and your shoulders more or less parallel with the handlebars.
Dismount carefully so as not to disturb the O-ring placement. Measure the distance the O-ring has been pushed up from the wiper seal in mm. Divide this number by the fork’s total travel and then multiply by 100 to get the percentage sag.
Typically, fork sag sits somewhere between 20-25%, depending on your terrain and riding style.
Once you have your measurement, you can use your shock pump to increase sag by letting some air out or reduce sag by pumping more air in. Again, only make adjustments between 5 to 10 psi to avoid making too big of a change.
The more you ride, the more you may want to fine tune your settings, but these are excellent baselines to start with.
Rebound damping
Once you have your sag balanced, you’ll want to spend some extra time making sure you have your rebound adjusted properly, especially if you are looking to prepare your bike for competition. Rebound refers to the rate at which your suspension fork or shock returns to its full extension after compressing due to an impact or rider weight. Proper rebound adjustment helps maintain traction, control, and comfort while riding.
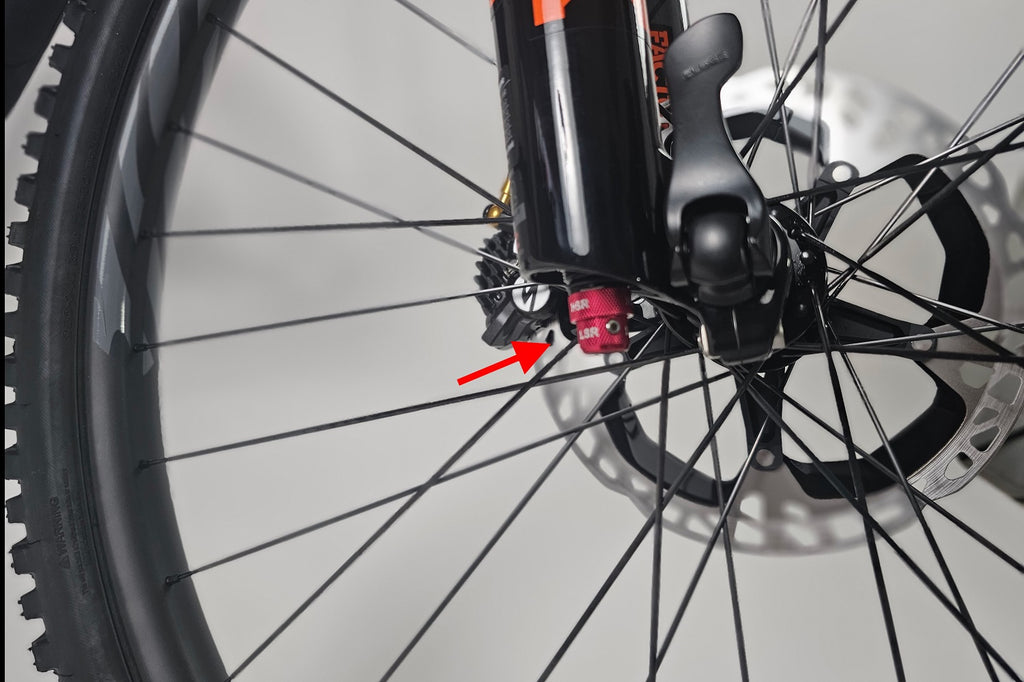
Start out by finding the neutral setting for your rebound damping. You might have to check the manufacturer's guidelines for your specific suspension system to find the correct setting. To adjust the settings, most suspension components come with a dial or knob for rebound fine-tuning. Turning it clockwise usually increases damping resulting in slower rebound, while turning it counterclockwise decreases damping, which will give you faster rebound.
At the neutral setting, take your bike out and ride it on a familiar trail that will resemble the types of trails you will be racing on. If the rebound damping is too high, the suspension will be too slow at recovering, and after repeated impacts the suspension will continually sink lower into its travel so that you feel no cushioning benefit and traction suffers. If rebound damping is too low, the suspension will extend too fast and feel bouncy and out of control.
Make small adjustments to the rebound damping and repeat the test until you find the right balance. It's a trial-and-error process. Alternatively, you can set your shock to full rebound, ride the same trail, and fine tune it by reducing the rebound by one click lower till you arrive at the setting you want. Keep in mind that your weight, riding style, and the terrain you're competing on will affect your rebound setting.
Adjust both your front fork and rear shock’s rebound independently. They may require different settings based on various characteristics and how your bike responds to impacts. Pro tip: once you find the rebound setting that works well for you on that specific trail, make a note of how many clicks from neutral position the setting is for front and rear. It will save you time for future setups on different types of courses.
Summary
When deciding how to set suspension sag, inevitably a lot has to do with personal preference, rider weight, riding style, and trail demands. There are always trade-offs and compromises, but getting your sag set to the perfect sweet spot will help you enjoy your trail riding for hours in total comfort and control.
You may also be interested in how to choose mountain bike tire size.